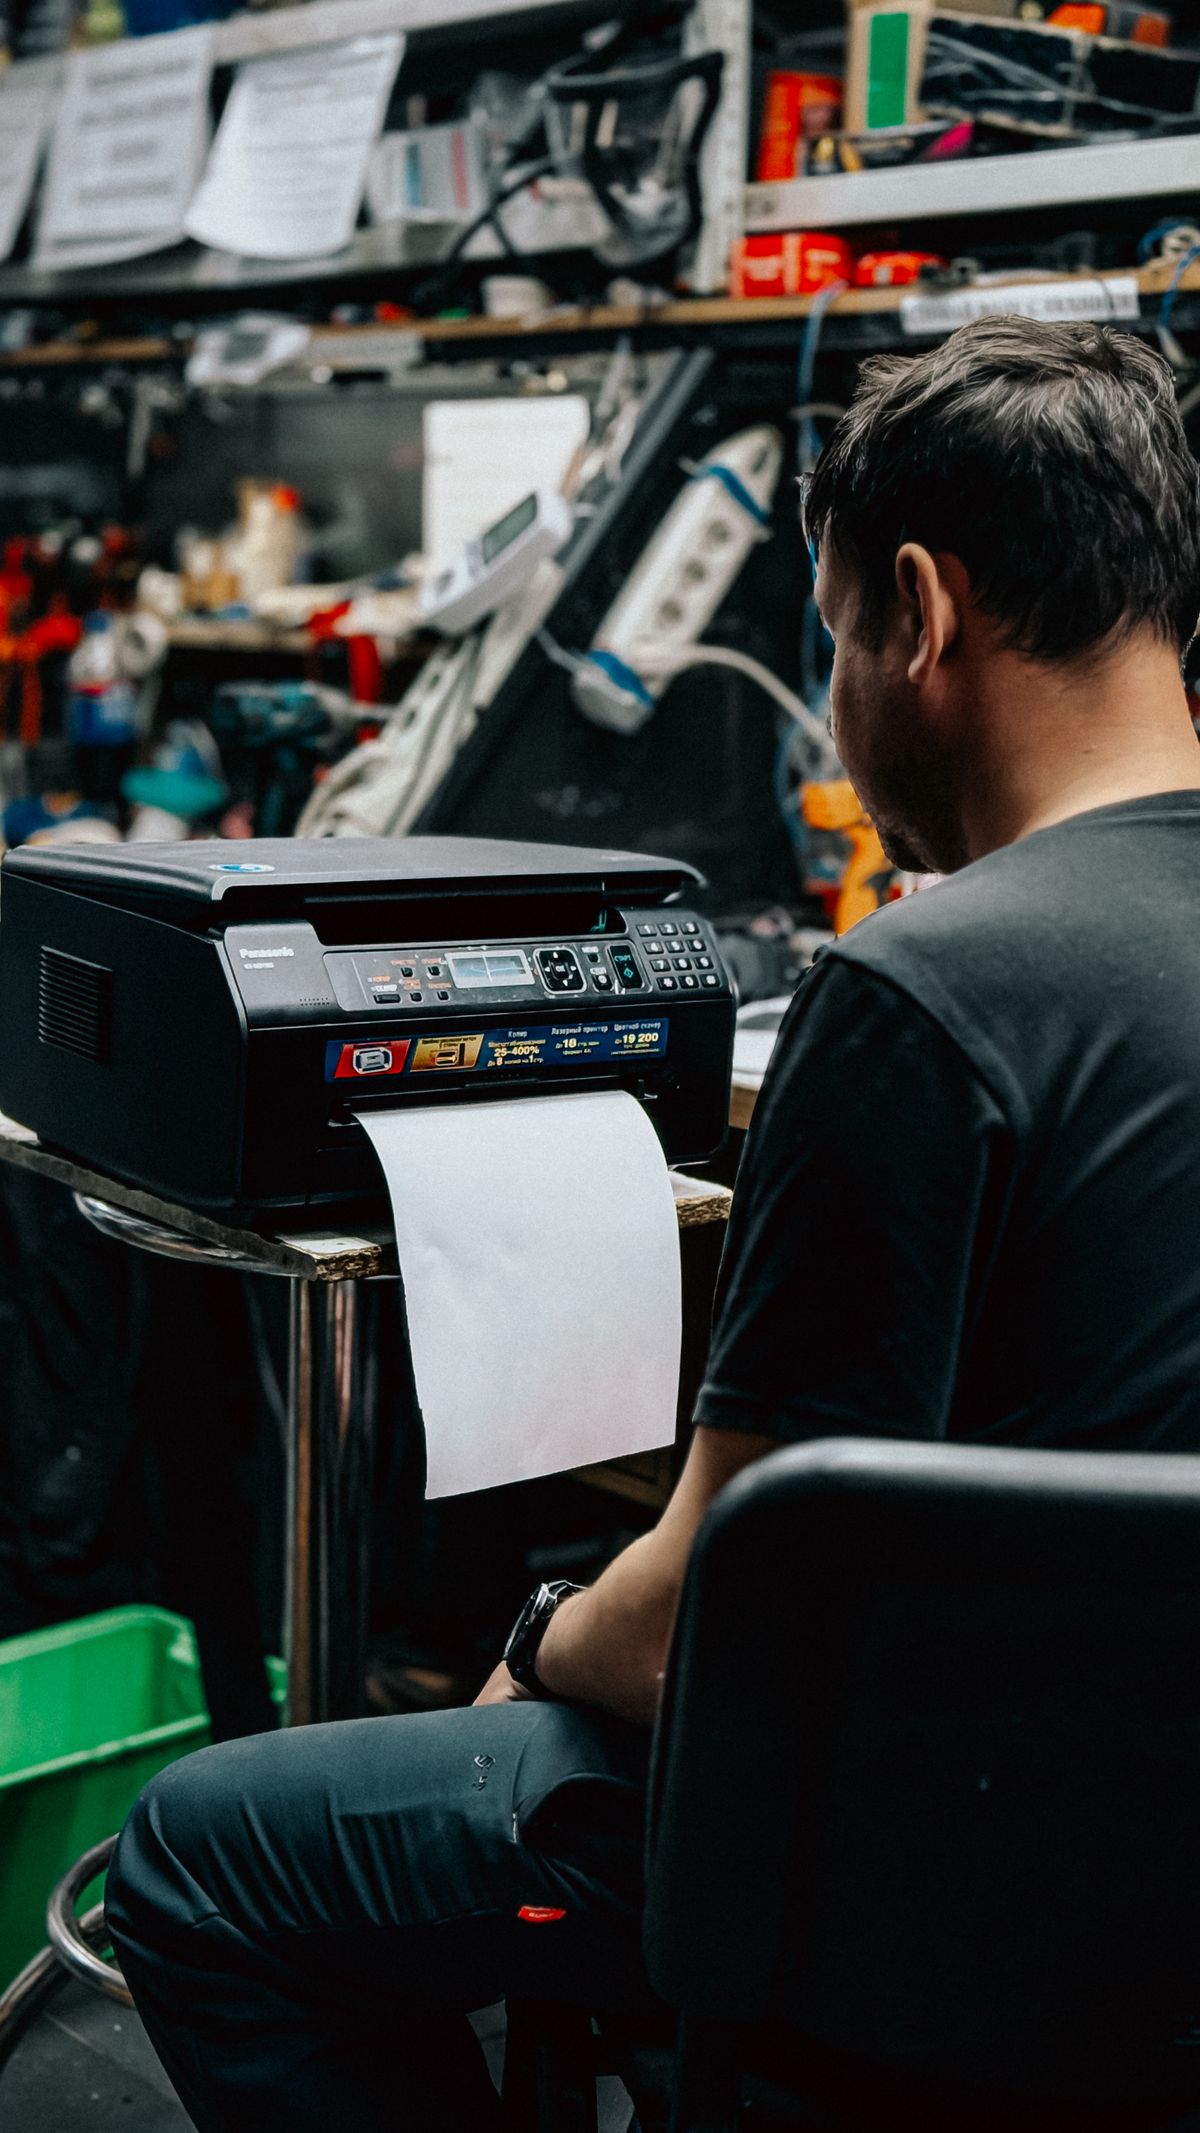
When a sheet stops halfway through a printer, the obvious response is to pull the part you can see. That can tear the page or drag it through a path the manufacturer did not intend for removal. Begin with the jam message and the diagram for the exact model. A rear-path jam, a cassette jam and a document-feeder jam may require quite different access.
Read the power and cooling instructions first
Cancel the outstanding job through the normal controls where possible, then follow the manual's sequence for that jam location. Some procedures call for switching off and disconnecting; others specify a cooling period with the machine powered so its fan can operate. Do not replace a model-specific instruction with a universal guess. Laser printer components can remain hot after printing, even if the surrounding case feels ordinary.
Open only the covers identified for owner access. Observe hot-surface labels and avoid touching rollers, sensors, electrical contacts or other internal parts not involved in the stated procedure. If a cover does not release as described, stop rather than bending it. A screwdriver or pair of pliers inside the paper path can turn a minor obstruction into damaged equipment.
Remove the whole sheet gently
Use the direction and grip shown in the manufacturer's instructions. Where the procedure permits pulling a page by hand, apply steady, gentle movement rather than a sharp tug. If it resists, check whether another cover or release lever is part of the procedure. Do not force rollers to turn or defeat a safety interlock to improve access.
Examine the removed sheet for missing corners or strips. A fragment can remain in the permitted access area and cause another jam. Look only where the manual directs, using ordinary light rather than probing blindly. If a piece cannot be reached safely, contact support. Confirm that user-accessible covers and trays return fully to their intended positions before restoring operation.
Correct the loading condition
Check the remaining stock for bent corners, moisture, damaged labels or mixed sizes. Use paper within the printer's specifications and below the tray's fill mark. Adjust guides to the sheet size without squeezing the stack. Match the paper size and type selected in the driver or control panel to what is actually loaded, especially when using a manual or specialty-media route.
Run a small ordinary job after the machine is ready. Check whether the printer reprinted the interrupted pages so the finished document has neither duplicates nor omissions. If the same location jams again with suitable, correctly loaded stock, keep the error wording and a description of the conditions for support. Repeatedly forcing pages through a failing path is not a maintenance plan.
There is no single removal sequence that safely covers every printer. The useful general habit is to identify the route, respect cooling and power instructions, remove only what the manual allows and check why the sheet stopped before sending the next stack.